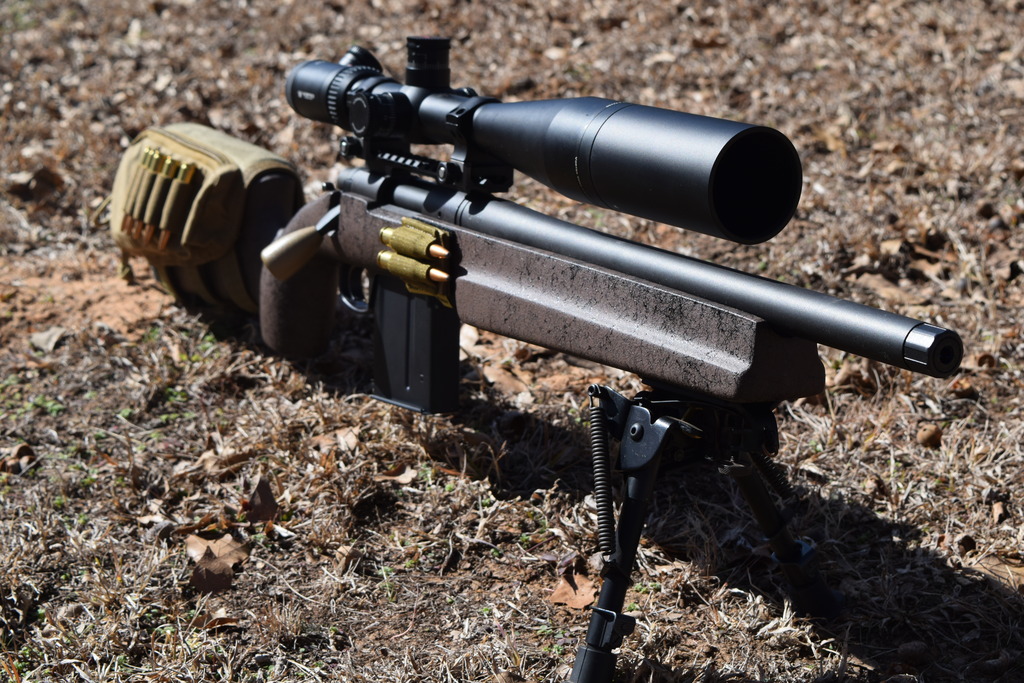
Finally got all the parts gathered up to put together my 700. First thing im doing is installing the badger ordinance bolt knob. Bought the knob used from a fellow OSA member that had kryloned it FDE. I was a little intimidated by this project but went forward with it anyway and pleased with the outcome.
What you need:
1) bench vise (to hold the bolt in place when grinding/filing)
2) Cut off wheel and or angle grinder
3) Files from small - large
4) Sandpaper 220 grit or similar to help smooth out file marks
5) Tape - to wrap up your bolt and prevent any slips with the grinder from ruining your day
6) Black paint for touch up - I used duplicolor low gloss black, the same thing I use for saiga conversions.
7) 5/16x24 die and handle + cutting oil
8) Thread locker of some kind to secure the knob to the bolt.
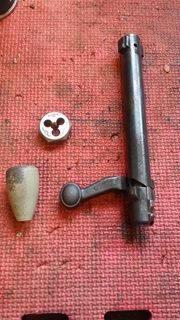
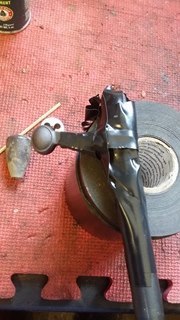
Tape that sucker up. I had to redo the tape several times close to the bolt head when filing.
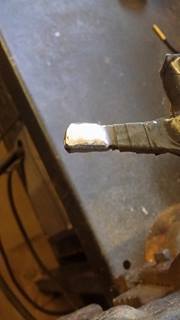
Using a pneumatic cut off wheel first flatten the roundedness off the top and bottom...then grind/cut down the sides trying to keep the same angle that the bolt handle takes. I should have taken more pictures during this part but didn't. ^^^ is where I left off with the cut off wheel. I then used a file to round it out which took the longest time. I checked the diameter with a 3/8" die (the next size up in my kit) just to make sure I didn't remove too much material.
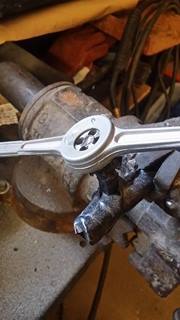
Start slow and use plenty of oil. I use an air hose to blow away shavings every once in a while then re-oil. I usually go about 1/4 turn CW then 1/2 turn CCW to break the metal shavings loose.
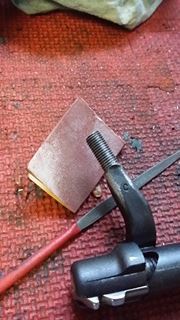
Once threaded, I used some fine files to smooth out the slips and what not from the cut off wheel and larger files. Then I used 220 sandpaper to blend everything together.
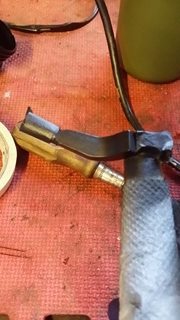
Clean the bolt really well to remove any oil. I use grease and wax remover from the local auto parts store but rubbing alcohol also works fine. Tape it off in such a way that the lines will be hidden in the angles of the bolt handle. I doubt any black would be a perfect match to the factory bolt color so strategic taping will help prevent any hard lines from being visible.
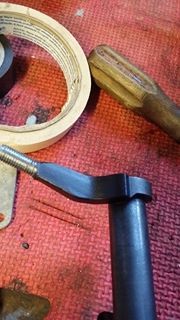
And finished! almost...The used knob was a flaky spotty FDE color so I had to do something about that.
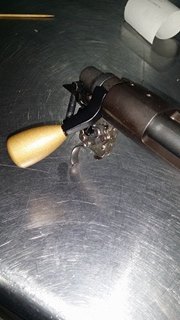
BAM! Gold fashioned baby. I ordered a brown stock and think the gold will look good with it. The flash on my camera really shows the color difference between the black paint and factory Remington finish. Factory looks black in person but more like a deep blue under the flash. I tried to match it with my van's cold blue before painting and it just wasn't going to work. Either way im happy with the outcome and think it looks pretty clean.
What you need:
1) bench vise (to hold the bolt in place when grinding/filing)
2) Cut off wheel and or angle grinder
3) Files from small - large
4) Sandpaper 220 grit or similar to help smooth out file marks
5) Tape - to wrap up your bolt and prevent any slips with the grinder from ruining your day
6) Black paint for touch up - I used duplicolor low gloss black, the same thing I use for saiga conversions.
7) 5/16x24 die and handle + cutting oil
8) Thread locker of some kind to secure the knob to the bolt.


Tape that sucker up. I had to redo the tape several times close to the bolt head when filing.

Using a pneumatic cut off wheel first flatten the roundedness off the top and bottom...then grind/cut down the sides trying to keep the same angle that the bolt handle takes. I should have taken more pictures during this part but didn't. ^^^ is where I left off with the cut off wheel. I then used a file to round it out which took the longest time. I checked the diameter with a 3/8" die (the next size up in my kit) just to make sure I didn't remove too much material.

Start slow and use plenty of oil. I use an air hose to blow away shavings every once in a while then re-oil. I usually go about 1/4 turn CW then 1/2 turn CCW to break the metal shavings loose.

Once threaded, I used some fine files to smooth out the slips and what not from the cut off wheel and larger files. Then I used 220 sandpaper to blend everything together.

Clean the bolt really well to remove any oil. I use grease and wax remover from the local auto parts store but rubbing alcohol also works fine. Tape it off in such a way that the lines will be hidden in the angles of the bolt handle. I doubt any black would be a perfect match to the factory bolt color so strategic taping will help prevent any hard lines from being visible.

And finished! almost...The used knob was a flaky spotty FDE color so I had to do something about that.

BAM! Gold fashioned baby. I ordered a brown stock and think the gold will look good with it. The flash on my camera really shows the color difference between the black paint and factory Remington finish. Factory looks black in person but more like a deep blue under the flash. I tried to match it with my van's cold blue before painting and it just wasn't going to work. Either way im happy with the outcome and think it looks pretty clean.


