1911 Bobtail housing install with pics

This site may earn a commission from merchant affiliate links, including eBay, Amazon, and others.

glowworm

Sharpshooter
Special Hen
Joined
Jul 29, 2015
Messages
174
Reaction score
19
Location
Choctaw
I think it's best to contour with the grip safety in the position it is in while you are gripping the frame. After all you want it to feel the best when you are shooting it. Same goes for contouring the thumb safety which you should do along with contouring the grip safety.
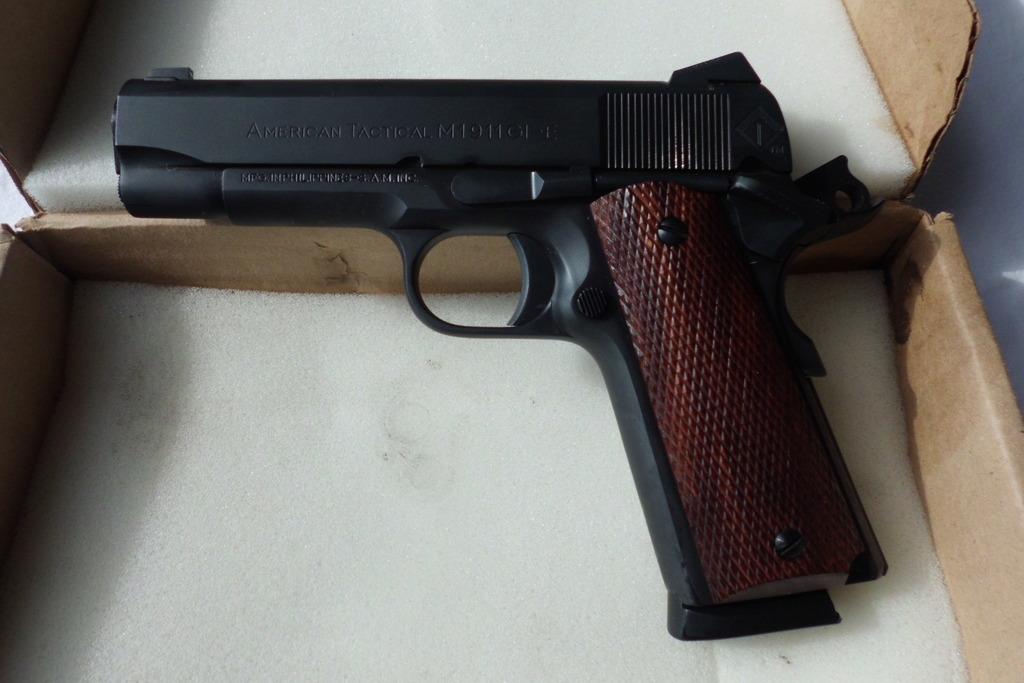
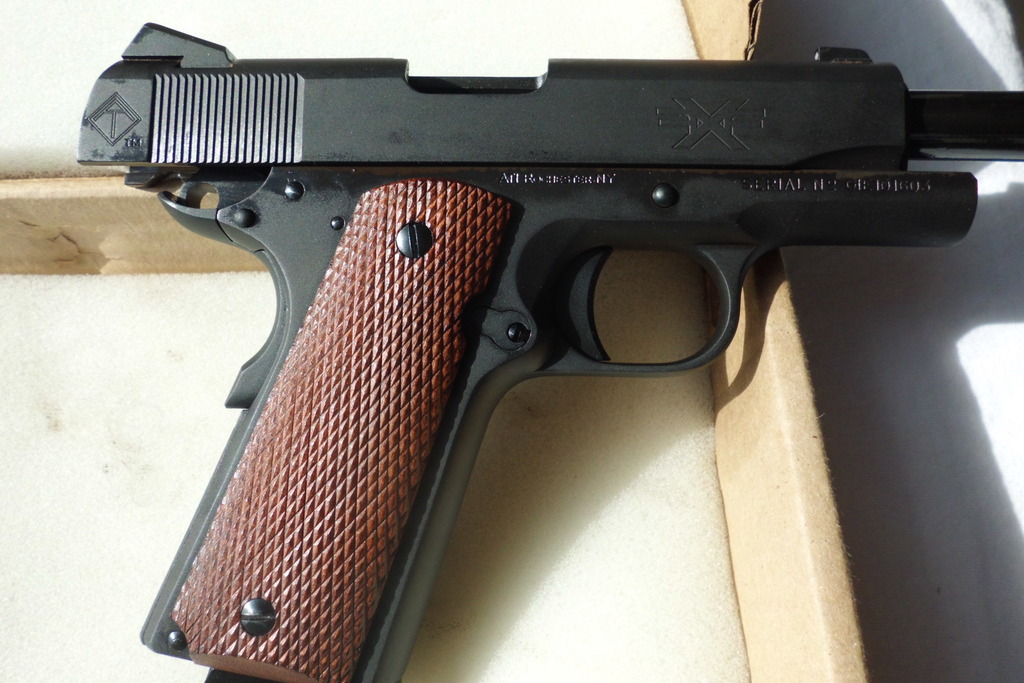
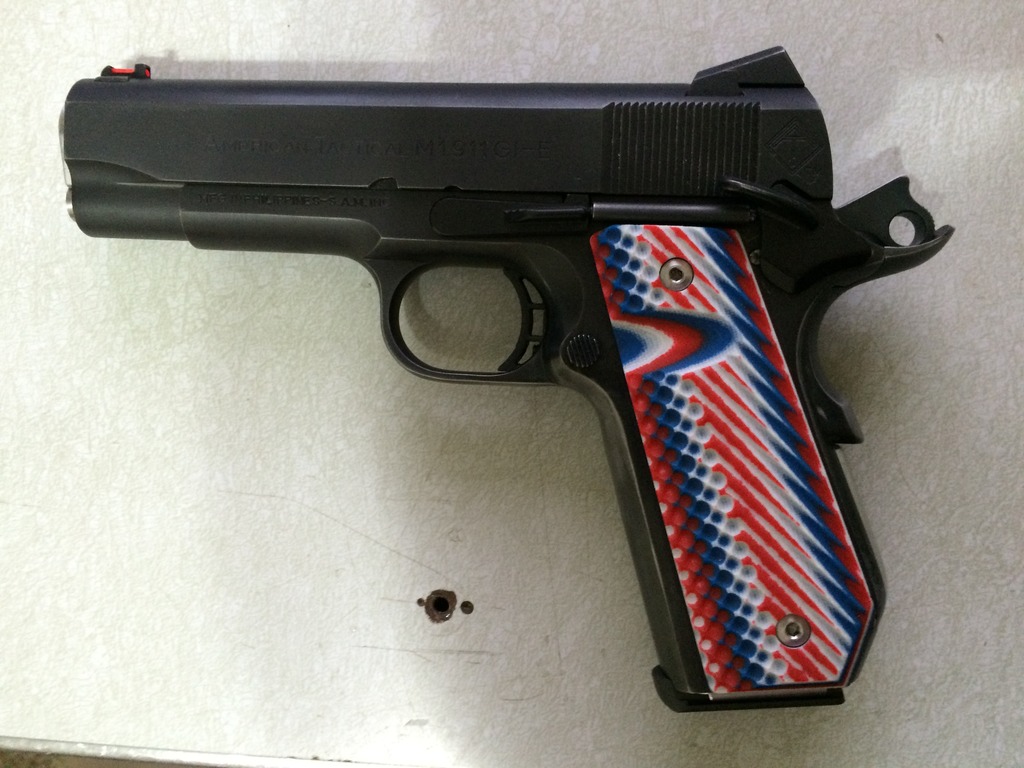
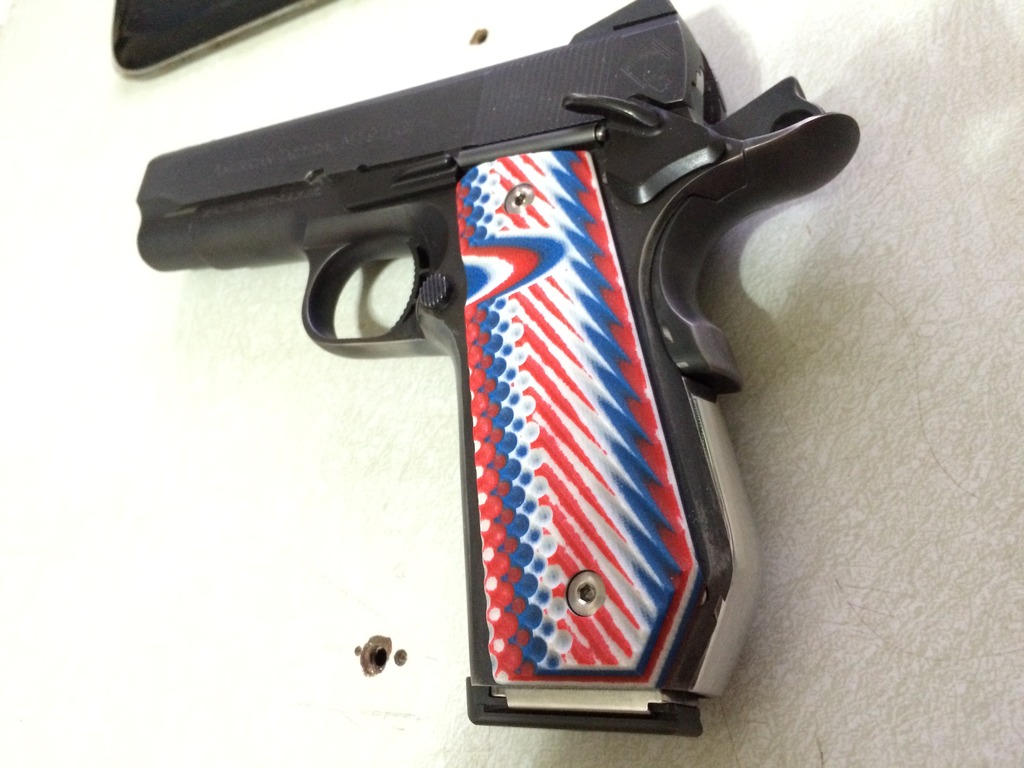
Yeah, I suppose that makes sense. I'll have to look at it. I'll see how my Ed Brown was done. Maybe that will give me an idea.
 

druryj

In Remembrance / Dec 27 2021
Supporting Member
Special Hen Supporter
Joined
Jan 16, 2010
Messages
21,469
Reaction score
17,724
Location
Yukon, OK
This is the most interesting post this site has had in many years.

Thank you.

Super! Very interesting and admirable on your part to undertake a task like this. I largely agree with robar-g19 here; this is an excellent post and we need more like it! Keep up the work and be sure to keep us updated on your progress. I'm diggin' it!
 

Glocktogo

Sharpshooter
Supporting Member
Special Hen Supporter
Joined
Jan 12, 2007
Messages
29,482
Reaction score
15,854
Location
Collinsville
Very good thread and I'm glad to see someone else doing this! I started on "Project ATI Commander Bobtail" over a year ago. Unfortunately work took a turn for the very busy and I haven't completed it yet. I started with an ATI "American Tactical M1911 GI-E, that I got on sale for around $320 delivered. Here's what I've done so far:

  • Ed Brown bobtail MSH (using the same EB jig)
  • heavily contoured it to the frame (they come "proud" of the frame)
  • heavily beveled magwell
  • undercut trigger guard
  • lowered and flared the ejection port (the ATI came with the original Colt pattern, unbeveled or relieved port)
  • beveled the flat cut hole in the Commander hammer
  • flush cut slide stop
  • installed a fiber optic rod in the stock front sight
  • "U" bottomed and widened the back sight notch, for quicker sight acquisition
  • replaced the ejector with an extended Wilson ejector
  • installed Wilson bulletproof slide stop and Wilson bulletproof thin, single side thumb safety
  • upgraded to a Wolff extra power 22#recoil spring and extra power firing pin spring, and a Nowlin competition sear spring
  • fitted an EGW thick flange, angle bore bushing with carry bevel, along with a long nose recoil spring plug to match
  • fitted an EGW flat bottom firing pin stop
  • installed an STI short polymer trigger, adjustable for takeup and overtravel
  • polished the disconnector
  • trigger job set to a crisp 4.5#, with neutral sear engagement, properly set takeup to ensure the half cock notch works correctly and overtravel properly set to prevent interference with the sear as the hammer falls
  • adjusted the grip safety engagement to ensure positive function
  • some internal polishing on rough spots and high points to increase overall smoothness
  • Installed short grip screw bushings and a set of thin VZ Operator II's I picked up used for $40 and bobtailed to match the frame (also had to "defang" the Op II's for CCW, still grippy but not painful!) :)
  • Wilson 47D 8 round mags with low profile pads
Still left to do:
  • full carry bevel
  • 45 degree flush cut barrel crown
  • stipple or checker the front strap and MSH "CCW style" which means not all the way to the sides of the frame, for greater comfort (this may be the only mod I farm out, as I'm too chicken to do it)
  • Trijicon HD or Ameriglo Pro front sight
  • full refinish (still undecided on color, either two tone Cerakote or satin hard chrome frame and ion-bond slide)
It feels like a completely different gun than it did out of the box. It no longer slings brass 20 feet, as it was seriously undersprung in stock form. It feels better, handles better, operated more smoothly and is more accurate. The barrel link was very well fit out of the box, but the stock bushing fit was terrible. Everything was pretty much done by hand, including blending the MSH to the frame with files, sandpaper and polish. I think it's going well so far. Comments?

i151.photobucket.com_albums_s157_Glocktogo_CIMG1170_zpspr5ravon.jpg


i151.photobucket.com_albums_s157_Glocktogo_CIMG1175_zpsucc3vvby.jpg


i151.photobucket.com_albums_s157_Glocktogo_CIMG1178_zpsfgx9clat.jpg


i151.photobucket.com_albums_s157_Glocktogo_IMG_0898_zpsegj83riu.jpg


i151.photobucket.com_albums_s157_Glocktogo_IMG_0897_zpszadvm0xm.jpg


i151.photobucket.com_albums_s157_Glocktogo_IMG_0896_zpsmyngcfbr.jpg


i151.photobucket.com_albums_s157_Glocktogo_IMG_0899_zpsek8z8jcg.jpg


i151.photobucket.com_albums_s157_Glocktogo_IMG_0901_zpspaecqmtd.jpg


i151.photobucket.com_albums_s157_Glocktogo_IMG_0903_zpsptj7mibk.jpg


i151.photobucket.com_albums_s157_Glocktogo_IMG_0905_zps34hdypm0.jpg
 

glowworm

Sharpshooter
Special Hen
Joined
Jul 29, 2015
Messages
174
Reaction score
19
Location
Choctaw
Very good thread and I'm glad to see someone else doing this! I started on "Project ATI Commander Bobtail" over a year ago. Unfortunately work took a turn for the very busy and I haven't completed it yet. I started with an ATI "American Tactical M1911 GI-E, that I got on sale for around $320 delivered. Here's what I've done so far:

I think it's going well so far. Comments?

Looks like I've got some competition. Looks pretty darn good to me. I'll be interested to know what route you take to finish it when you're done. I'm leaning towards cerakote.
 

YukonGlocker

Sharpshooter
Special Hen
Joined
Jan 5, 2006
Messages
14,864
Reaction score
993
Location
OKC
Very good thread and I'm glad to see someone else doing this! I started on "Project ATI Commander Bobtail" over a year ago. Unfortunately work took a turn for the very busy and I haven't completed it yet. I started with an ATI "American Tactical M1911 GI-E, that I got on sale for around $320 delivered. Here's what I've done so far:

  • Ed Brown bobtail MSH (using the same EB jig)
  • heavily contoured it to the frame (they come "proud" of the frame)
  • heavily beveled magwell
  • undercut trigger guard
  • lowered and flared the ejection port (the ATI came with the original Colt pattern, unbeveled or relieved port)
  • beveled the flat cut hole in the Commander hammer
  • flush cut slide stop
  • installed a fiber optic rod in the stock front sight
  • "U" bottomed and widened the back sight notch, for quicker sight acquisition
  • replaced the ejector with an extended Wilson ejector
  • installed Wilson bulletproof slide stop and Wilson bulletproof thin, single side thumb safety
  • upgraded to a Wolff extra power 22#recoil spring and extra power firing pin spring, and a Nowlin competition sear spring
  • fitted an EGW thick flange, angle bore bushing with carry bevel, along with a long nose recoil spring plug to match
  • fitted an EGW flat bottom firing pin stop
  • installed an STI short polymer trigger, adjustable for takeup and overtravel
  • polished the disconnector
  • trigger job set to a crisp 4.5#, with neutral sear engagement, properly set takeup to ensure the half cock notch works correctly and overtravel properly set to prevent interference with the sear as the hammer falls
  • adjusted the grip safety engagement to ensure positive function
  • some internal polishing on rough spots and high points to increase overall smoothness
  • Installed short grip screw bushings and a set of thin VZ Operator II's I picked up used for $40 and bobtailed to match the frame (also had to "defang" the Op II's for CCW, still grippy but not painful!) :)
  • Wilson 47D 8 round mags with low profile pads
Still left to do:
  • full carry bevel
  • 45 degree flush cut barrel crown
  • stipple or checker the front strap and MSH "CCW style" which means not all the way to the sides of the frame, for greater comfort (this may be the only mod I farm out, as I'm too chicken to do it)
  • Trijicon HD or Ameriglo Pro front sight
  • full refinish (still undecided on color, either two tone Cerakote or satin hard chrome frame and ion-bond slide)
It feels like a completely different gun than it did out of the box. It no longer slings brass 20 feet, as it was seriously undersprung in stock form. It feels better, handles better, operated more smoothly and is more accurate. The barrel link was very well fit out of the box, but the stock bushing fit was terrible. Everything was pretty much done by hand, including blending the MSH to the frame with files, sandpaper and polish. I think it's going well so far. Comments?

i151.photobucket.com_albums_s157_Glocktogo_CIMG1170_zpspr5ravon.jpg


i151.photobucket.com_albums_s157_Glocktogo_CIMG1175_zpsucc3vvby.jpg


i151.photobucket.com_albums_s157_Glocktogo_CIMG1178_zpsfgx9clat.jpg


i151.photobucket.com_albums_s157_Glocktogo_IMG_0898_zpsegj83riu.jpg


i151.photobucket.com_albums_s157_Glocktogo_IMG_0897_zpszadvm0xm.jpg


i151.photobucket.com_albums_s157_Glocktogo_IMG_0896_zpsmyngcfbr.jpg


i151.photobucket.com_albums_s157_Glocktogo_IMG_0899_zpsek8z8jcg.jpg


i151.photobucket.com_albums_s157_Glocktogo_IMG_0901_zpspaecqmtd.jpg


i151.photobucket.com_albums_s157_Glocktogo_IMG_0903_zpsptj7mibk.jpg


i151.photobucket.com_albums_s157_Glocktogo_IMG_0905_zps34hdypm0.jpg

Nice work!
 

Latest posts

Top Bottom